Administrative Configuration
Table of Contents
This chapter will describe configuring Opuntia systems Administrative settings.
Changing the Password
Note
Changing the password is an instant change that does not need to be applied to take effect.
Web GUI
To change the root password, first navigate to the “Router Password” menu.
Main Menu - System –> Administration
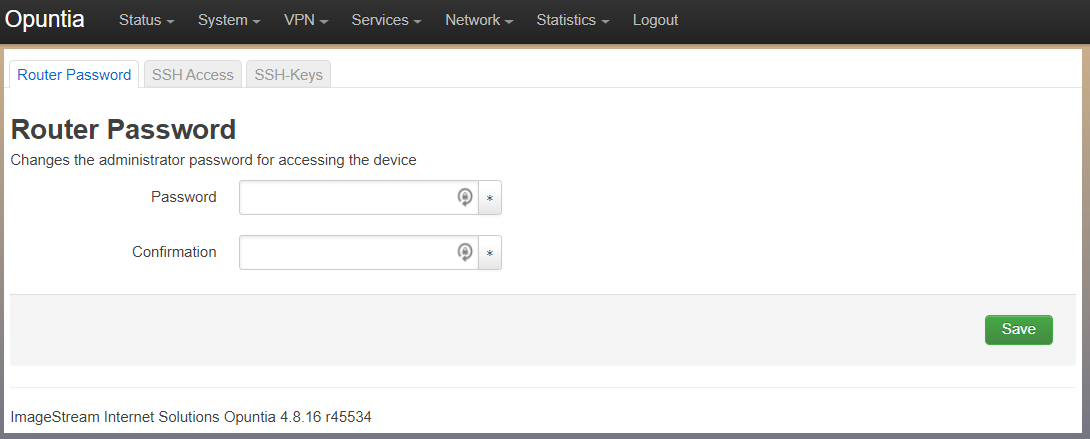
Input your desired password in both boxes and click save.
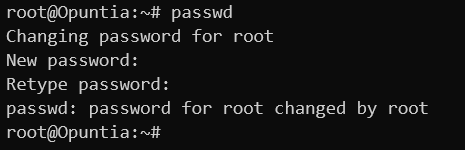
CLI
To change the root password, you use the standard Linux “passwd” utility. Below is an example.
Adding SSH Keys
Adding SSH authorized keys can be a convenient option when accessing an Opuntia based systems via the CLI.
Web GUI
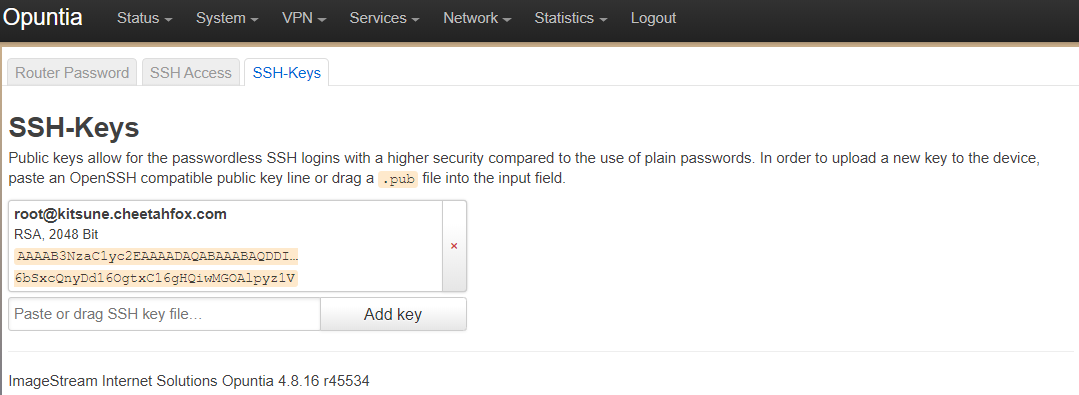
To add an authorized SSH key, first navigate to the “SSH-Keys” menu.
Main Menu - System –> Administration and then click the “SSH-Keys” Tab.
Note
Adding a SSH-Key is an instant change that does not need to be applied to take effect.
Note
Also take care when pasting the ssh key into the textbox the ssh key must be a single line of text.
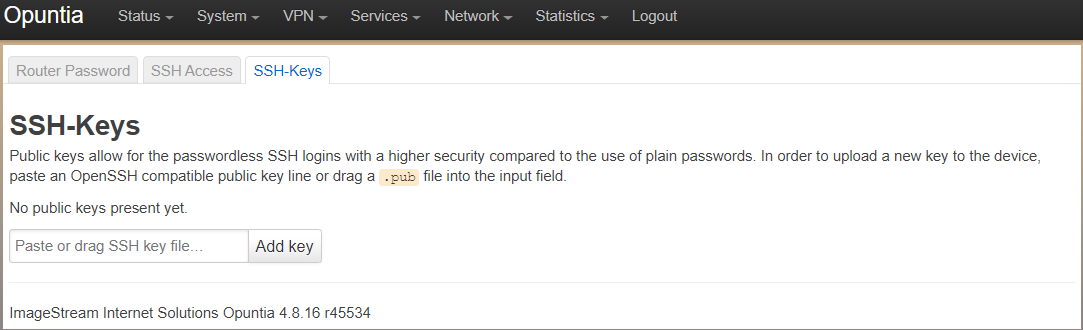
Once a key is added you will see a summary of the key including the comment of the key.
CLI
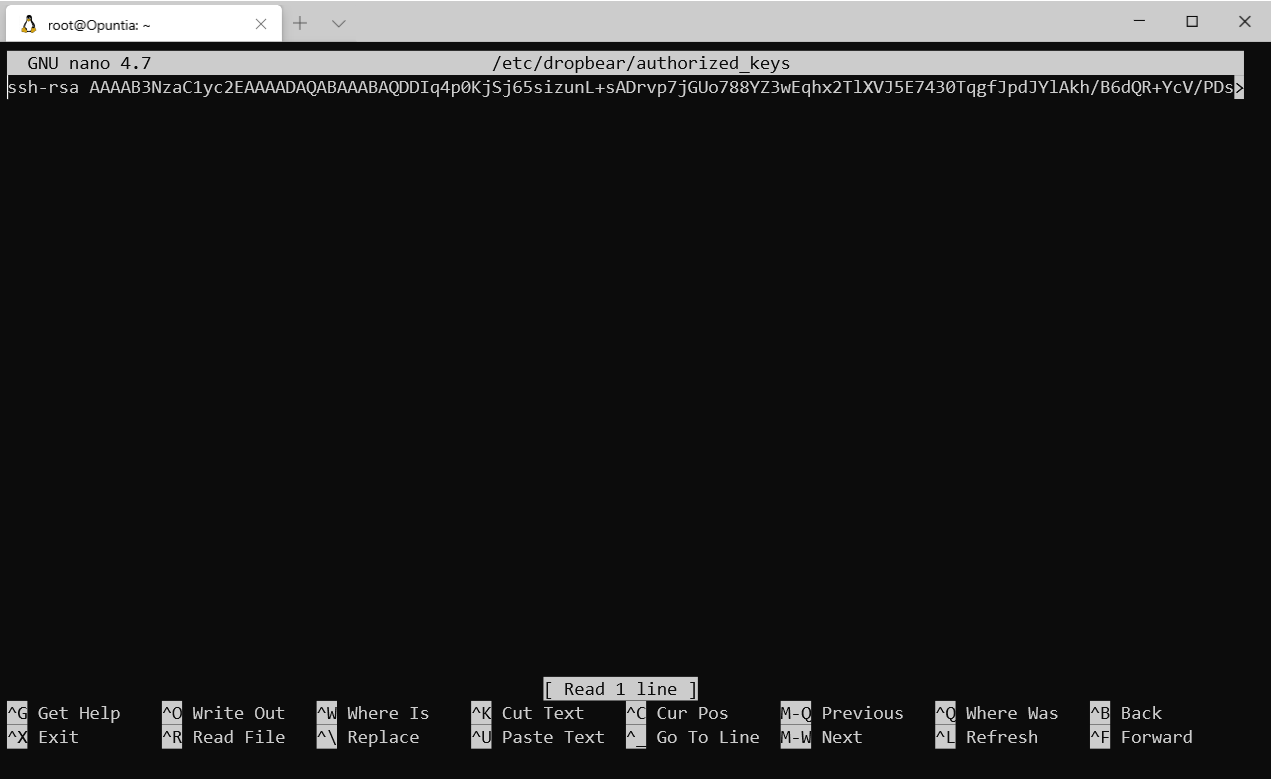
To add an authorized SSH key from the CLI you will need to edit the /etc/dropbear/authorized_keys file.
Note
The authorized key file format requires each SSH key be on a single line
Changing the Hostname
Web GUI
To change the Hostname of the system. First navigate to the General settings page.
Main Menu - System –> System
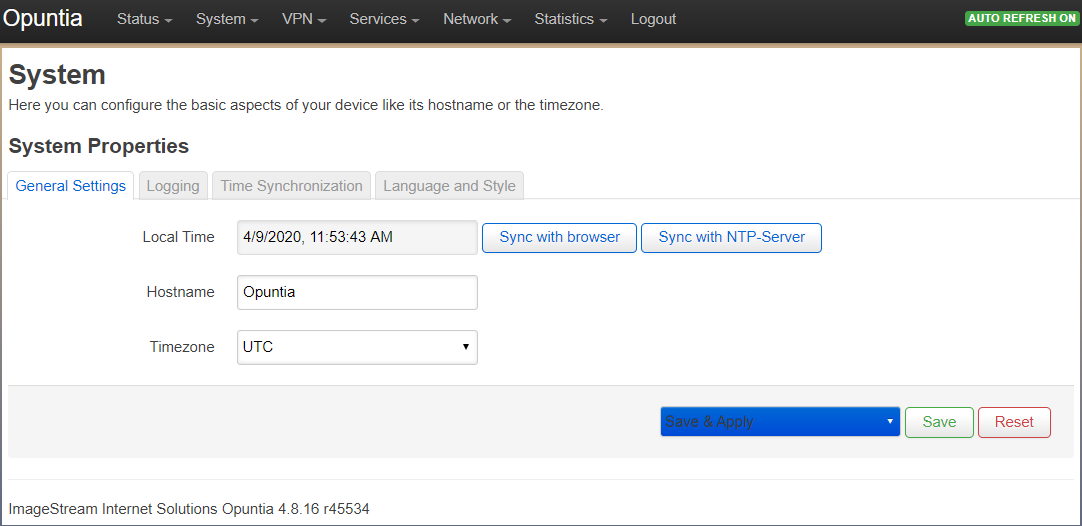
Enter your desired Hostname into the Hostname textbox. Then either click “Save” or “Save & Apply” if you want the change to happen immediately.
CLI
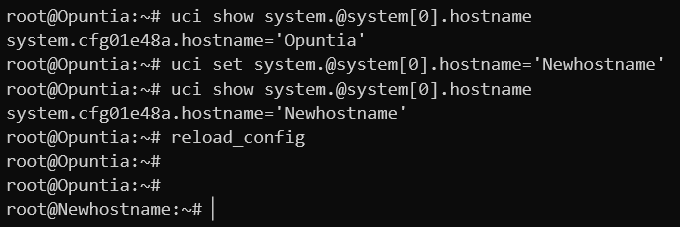
To change the Hostname from the CLI you can edit the /etc/config/system file. Or use the uci utility to make the needed configuration change. Examples of both methods are shown below.
Note
The “reload_config” command must be run after each of these methods to apply the changes.
Here you see the default contents of the system configuration (/etc/config/system). In the config system section of this file you will see the option hostname. Modify this to your desired Hostname and then save the file. After saving the file, run “reload_config” to apply the changes.

And here is an example of the uci command needed to change the hostname to “Newhostname”.
uci set system.@system[0].hostname='Newhostname'
Setting Time and the Timezone
Web GUI
To change the time or timezone of the system. First navigate to the General settings page.
Main Menu - System –> System
Note
We recommend that you use the UTC timezone as it simplifies log aggreation from multiple systems.
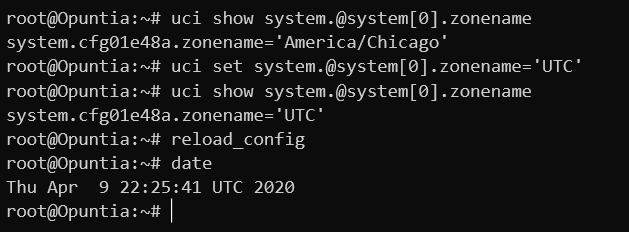
CLI
Here is the uci command to set the timezone to UTC.
uci set system.@system[0].zonename='UTC'
Once you have used the uci command to change the timezone; run “reload_config” to apply the changes.